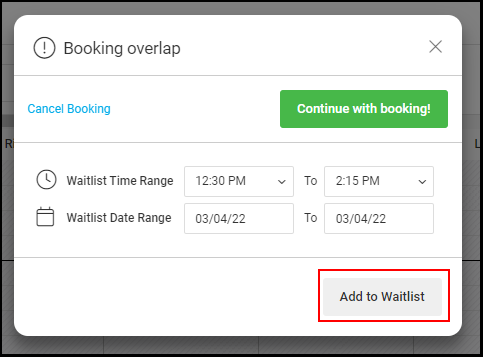
Owners, managers, and front desk associates can add clients to the waitlist by choosing an unavailable time when booking.
Watch the video here.
1. Book for an unavailable time and click "Add to Waitlist".
NOTE: The time range defaults to the length of the selected service
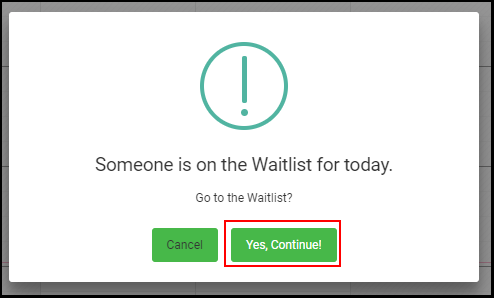
2. If an existing appointment is deleted from the schedule, and an appointment for that provider and time is on the waitlist, the below message will appear when the first appointment is deleted. Select "Yes, Continue" to navigate to the waitlist.
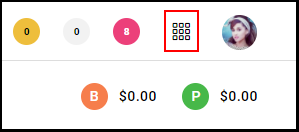
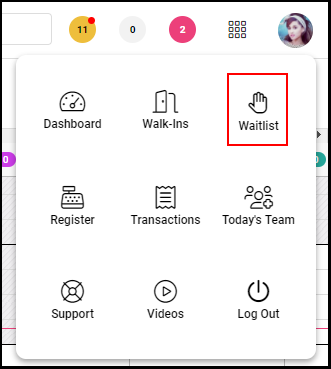
3. To access the waitlist, select the "Menu" then select "Waitlist".
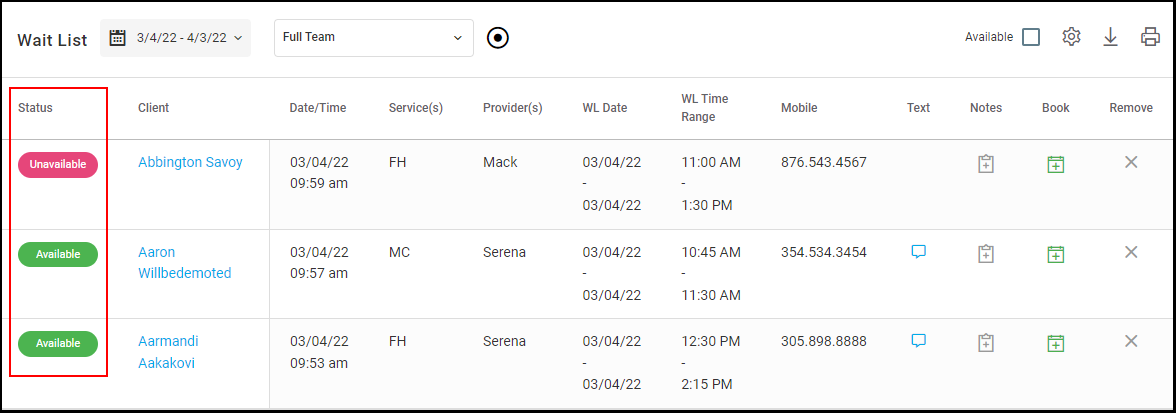
4. When viewing the Waitlist, the status column identifies if an appointment has become available.
Note: It can take up to 30 minutes for ‘Unavailable’ to change to ‘Available’.
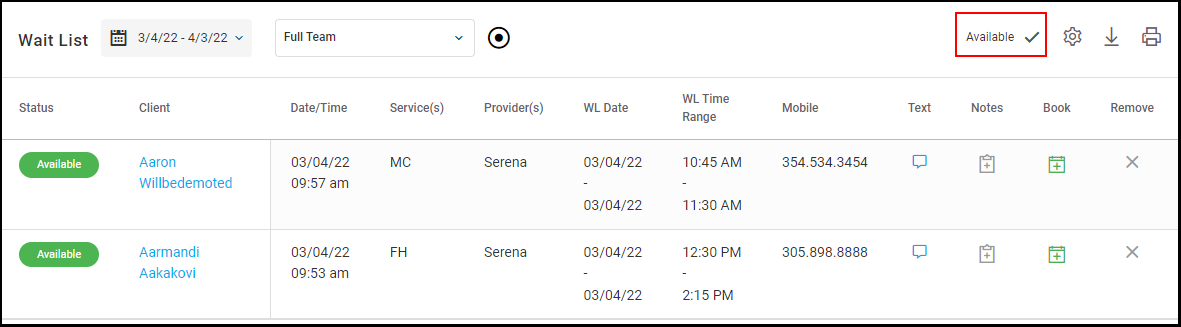
5. To filter only Available appointments, check the 'Available' box.
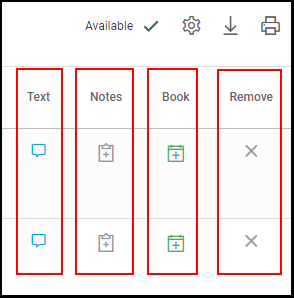
6. Use the Text, Notes, Book, or Remove buttons if an appointment becomes available.
- Text: Text the client to let them know that the appointment has become available. To create the messaging of the text proceed to Step 6.
- Notes: An instance in which Notes could be used would be if you called the client when the appointment became available and you left a voicemail.
- Book: If the appointment becomes available, use the 'Book' button to book their appointment.
- Remove: Should the client no longer want this appointment, you can use the 'Remove' button to remove them from the waitlist.
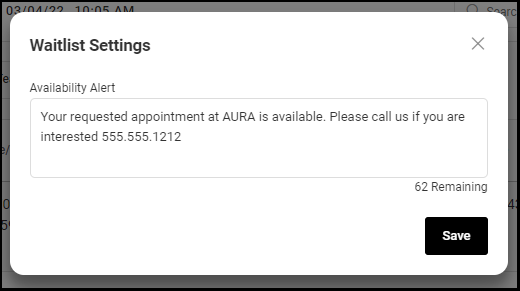
7. To create the "Availability Alert" messaging, click on the settings dial to access Waitlist Settings. You will be prompted to type in your Availability Alert message.
NOTE: The message is limited to 160 characters.