Learn how to create and process Purchase Orders and Return Orders
Watch the video here.
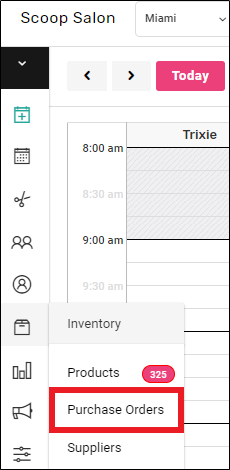
1. On the left side menu, Select "Inventory" > "Purchase Orders".
2. Find the desired Purchase order.
- The List icon (Tracking) displays an edit log for the purchase order
- The Eye icon displays selected the purchase order
- The Printer icon prints the purchase order
- The Download icon exports the purchase order in a CSV file
- The Black Checkmark icon marks the order as received
- The Quick-Stock (White Checkmark in Black Circle) icon should be used to re-stock all items in the purchase order to the "Products" list if you received your order in full.
- The Restock (Forward Facing Icon in Black Circle) icon, allows you to re-stock the item if ordered amount differs from received.

3. If you select the Restock icon (#7 above) you'll see your Purchase order information populate. Using the + and - to change the received amount.

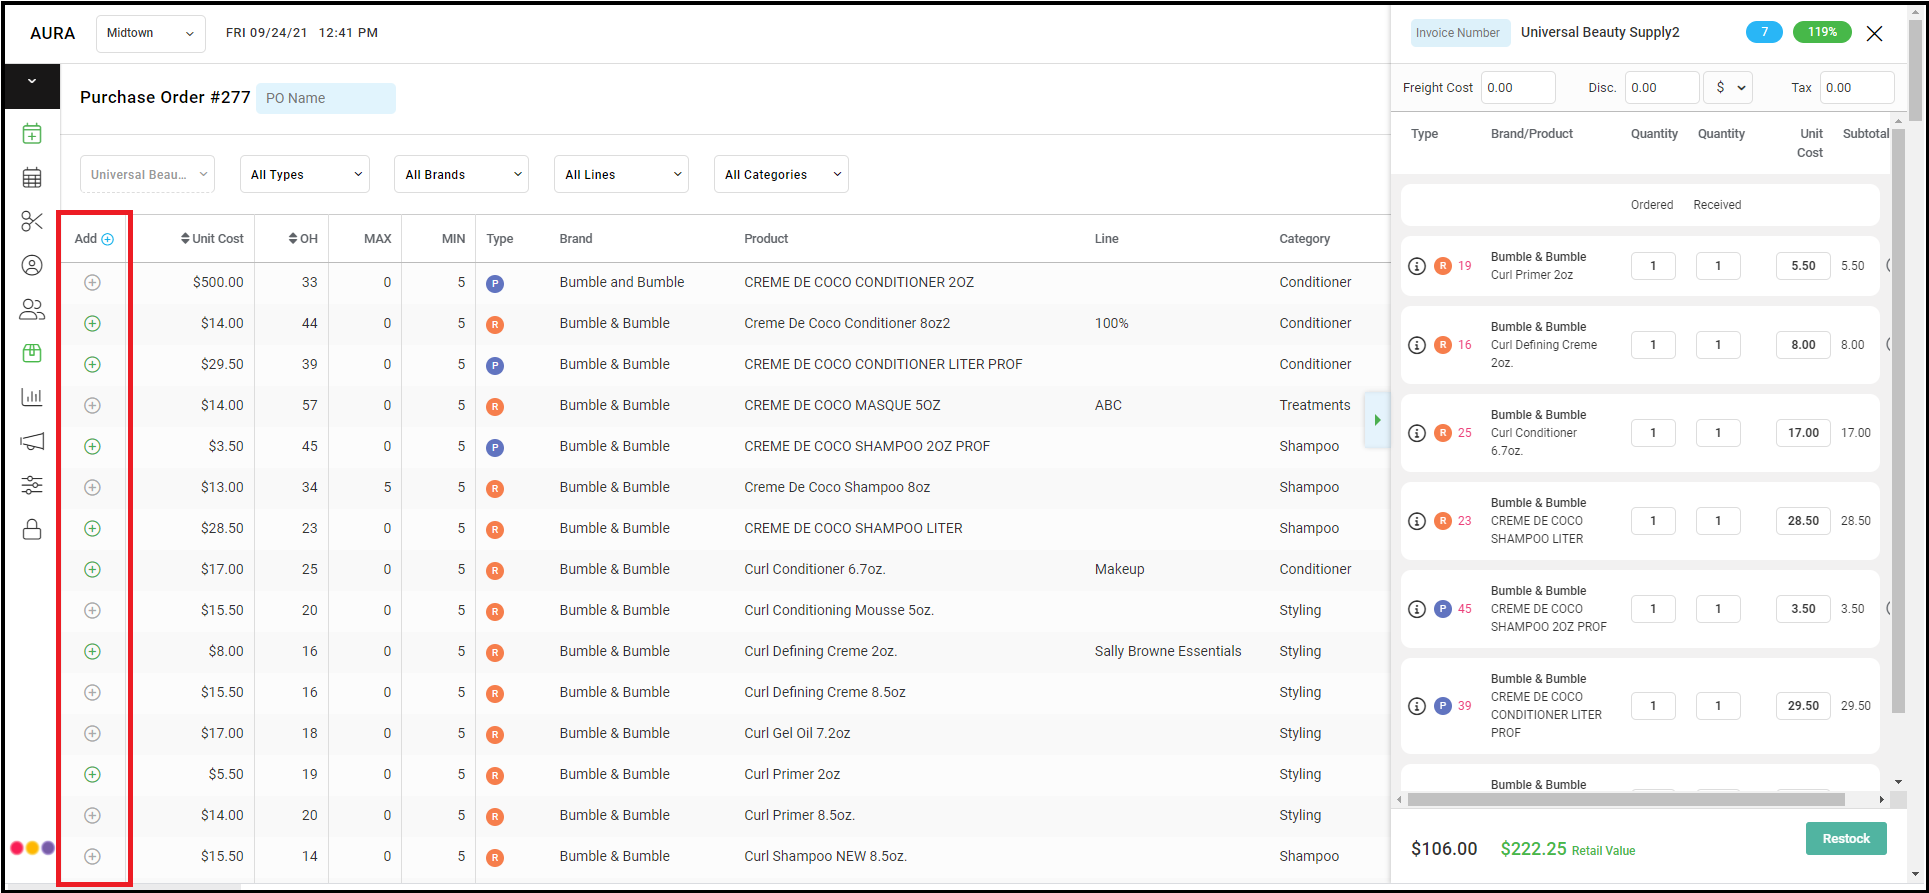
4. If you received additional items in your Purchase Order, you can add products while restocking. Click the plus button in the first column of the appropriate line item.
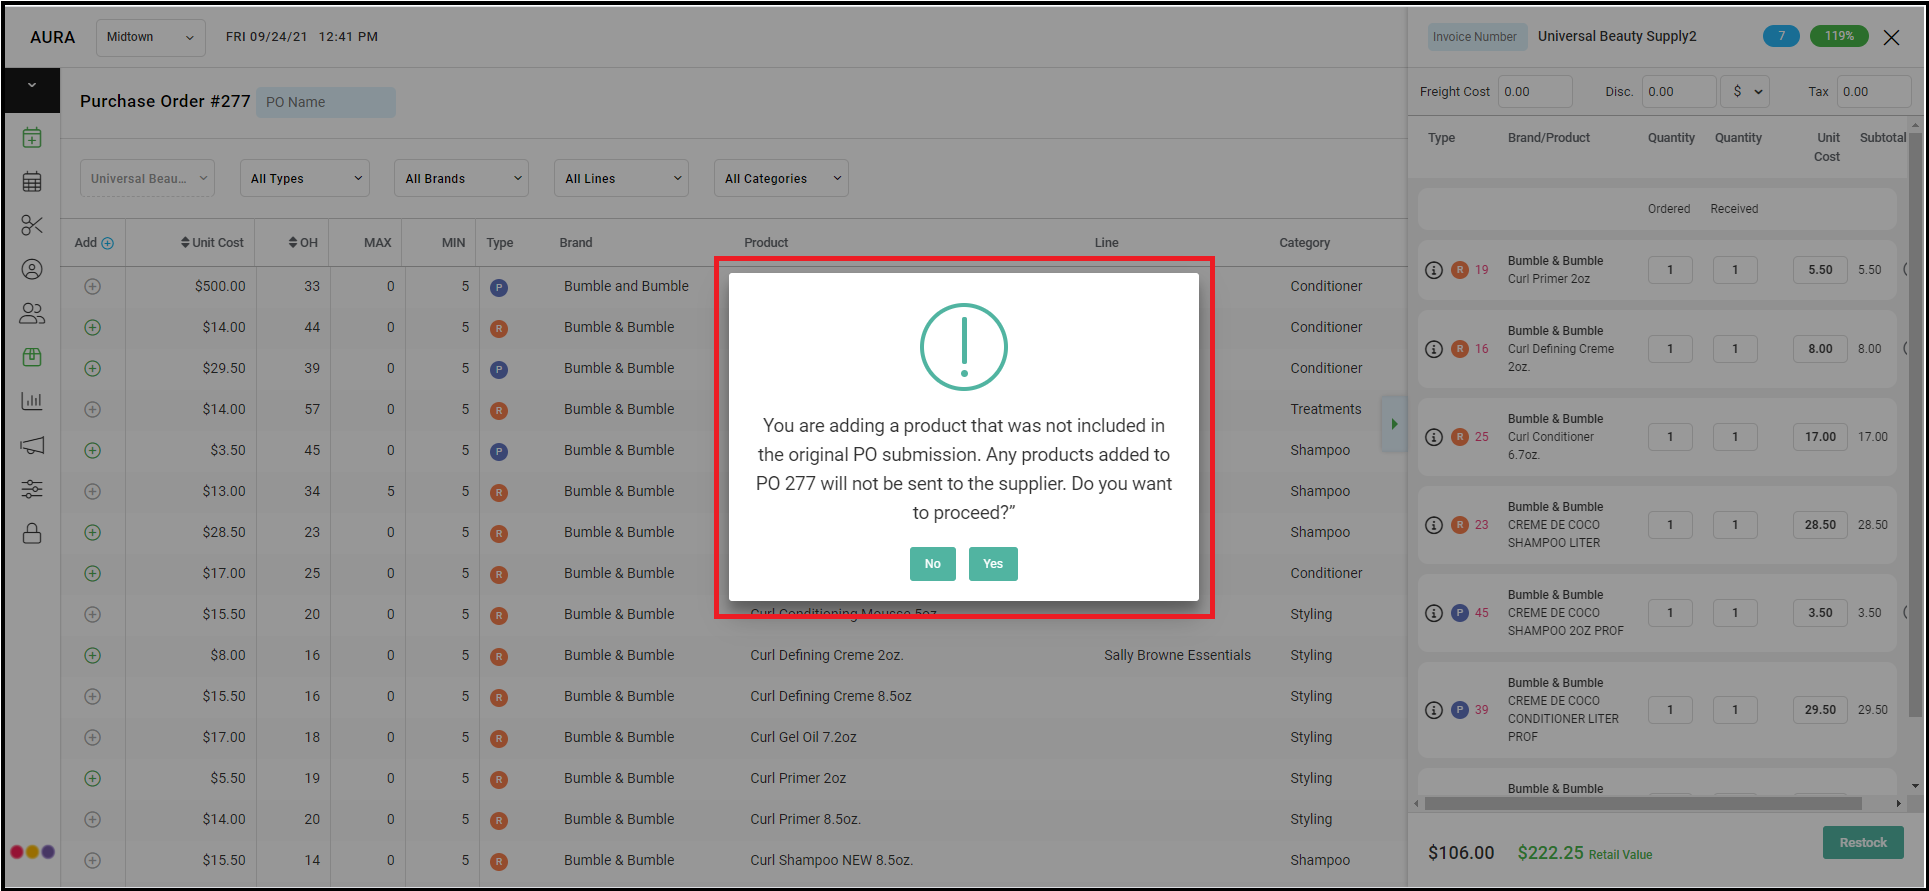
5. Users will be prompted with an alert message notifying them that the added product was not included in the original PO and any added products will not be sent to the supplier. Select ‘Yes’.
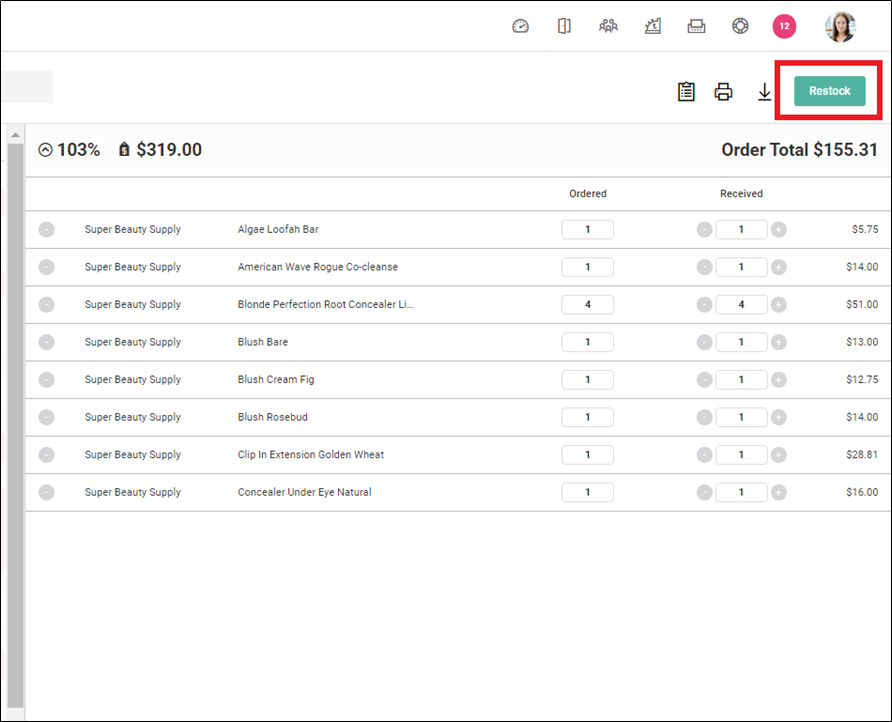
6. Once you verify all order counts are correct, click "Restock" in the top right to import items received to inventory. Note that if you received additional items and completed steps 4 and 5, those additional items will also be added to your inventory.