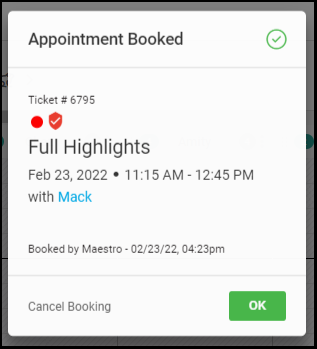
Owners or Managers can enable the Advanced Booking Form in Salon Settings > Access. If it is turned on it is enabled for all employees.
Booking a single service appointment with no desired provider
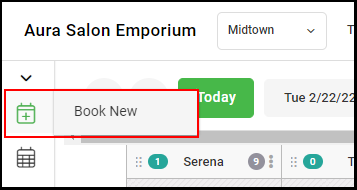
1. Select "Book New".
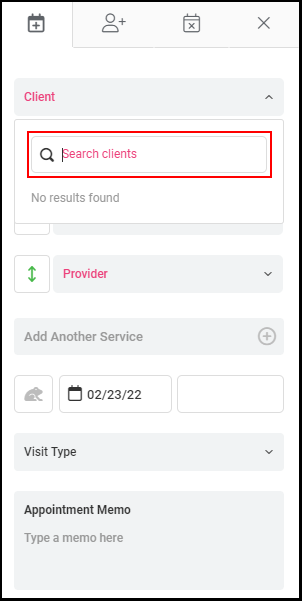
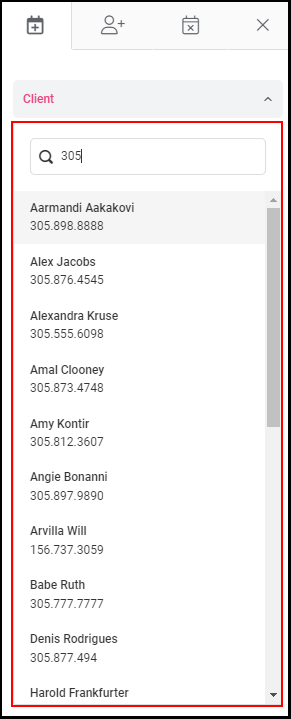
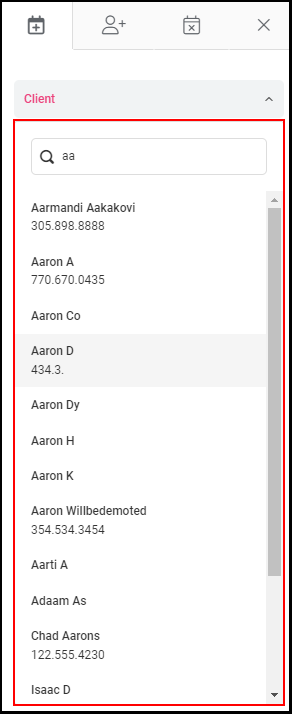
2a. Booking an Existing Client: Choose a client by scrolling through the Client List, or searching for a client by full or partial Name, Phone Number, or Email.
2b. Booking a New Client: Select the "Add New Client" button. Enter the client's First and Last Name, Mobile Number, and Email. Select "Add Client" when completed with the client details.
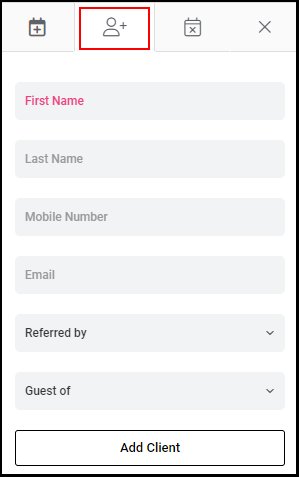
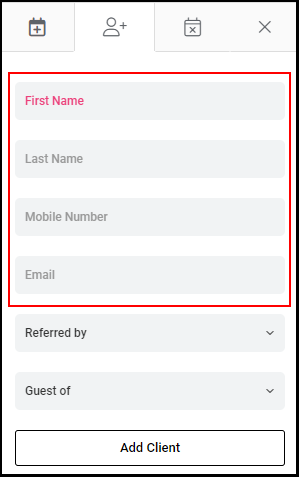
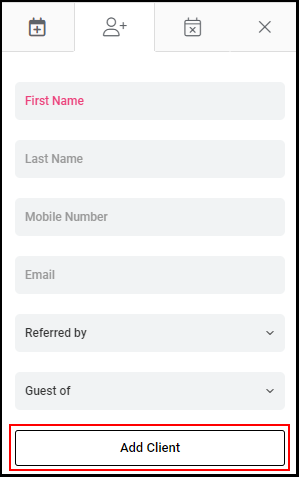
3. View, edit, or add any notes on the Client File display once the client is selected. If any changes are made, select "Save".
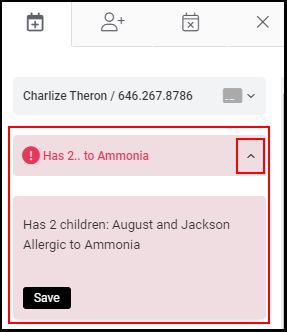
4. Choose a service by scrolling through the Service List or searching for a service by Service name or Code.
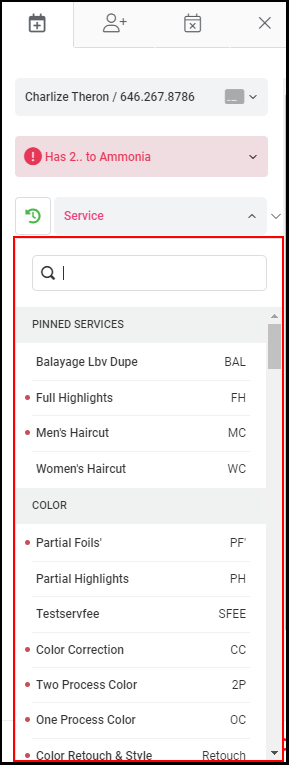
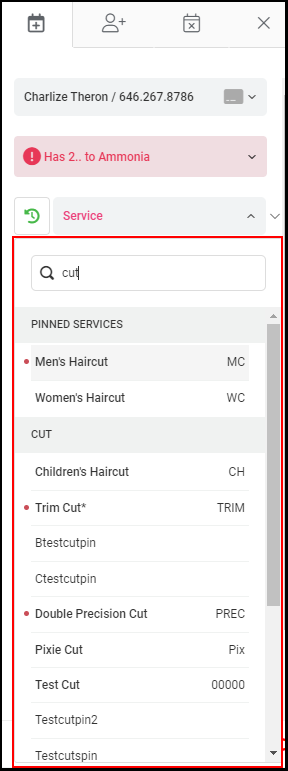
5a. If you are booking an existing client, users may book from the client's history by selecting the "Book from History" icon.
NOTE: If you are booking a new client, continue to Step #6.
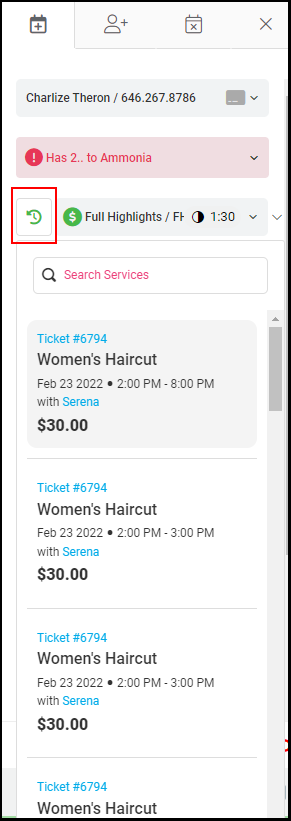
5b. The client's service history will be shown, with most recent services being shown at the top. Select the service the client wishes to book.
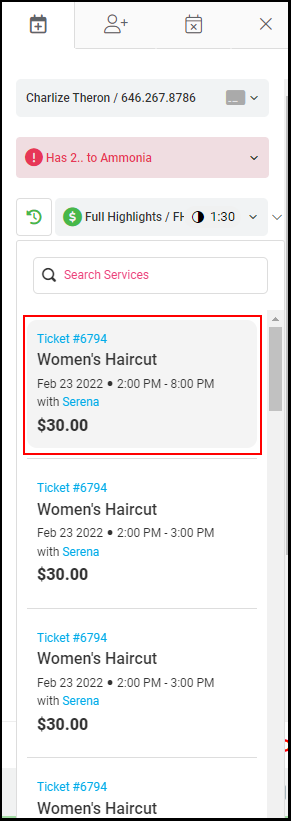
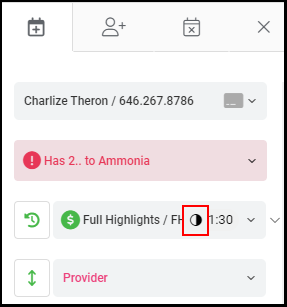
6. Once a service is chosen, the default timing for that service or the Smart Booking timing of the service from the Client File will default. To change the service timing, select the "Half Moon" icon.
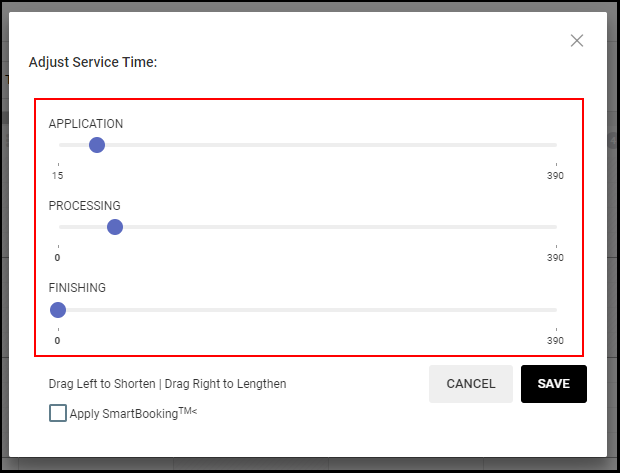
6a. To adjust service time, drag left to shorten and right to lengthen. The Application, Processing, and Finishing times can be adjusted.
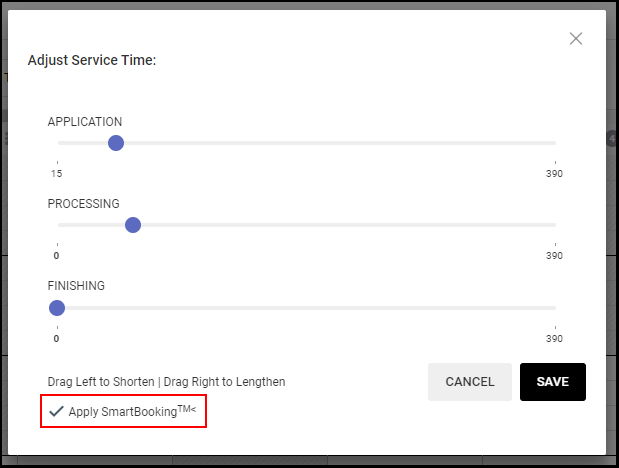
6b. If this is a permanent change you wish to add to the client profile, select "Apply SmartBooking". Select "Save" once your service time adjustments are complete.
NOTE: Any time the client books the same service in the future, Aura's SmartBooking technology will automatically adjust their service times based upon your selections.
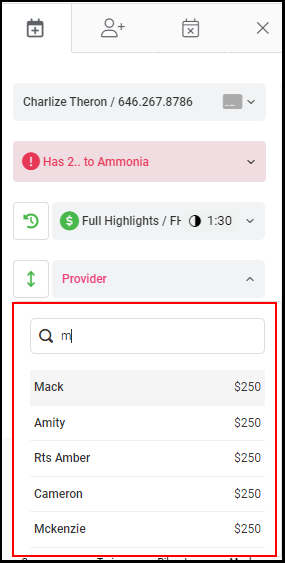
7. Select the Provider by scrolling through the provider list or by searching for a provider.
NOTE: The provider's cost for the selected service will also be shown next to the provider's name.
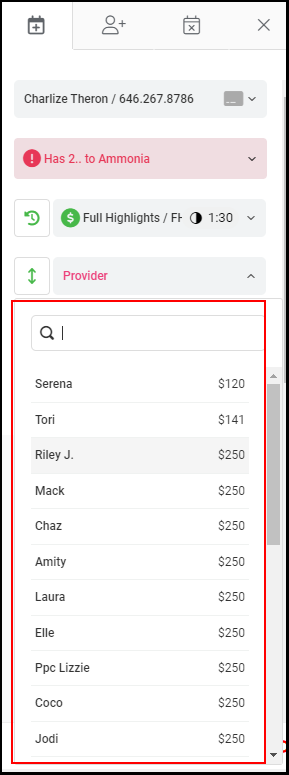
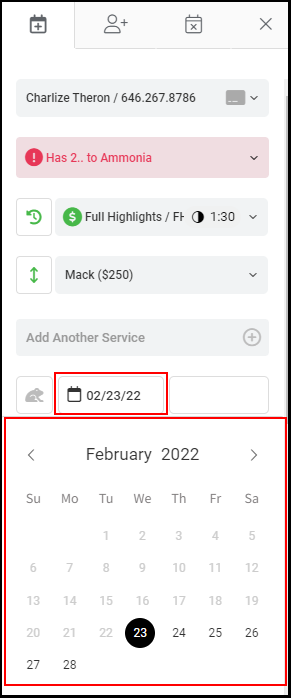
8a. Select the date of the appointment by selecting the date and choosing from the calendar.
NOTE: Aura will default the appointment to the current date.
8b. If the appointment is being made for weeks in advance, the "Week Hopper" tool can be used to quickly navigate thru weeks.
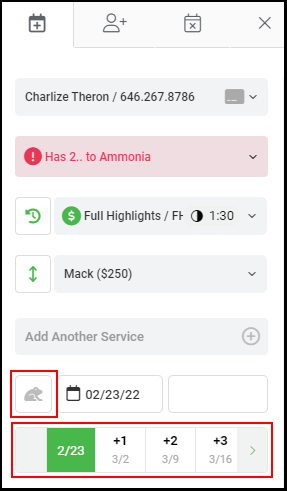
9a. All the provider's availability for the selected service and date will appear.
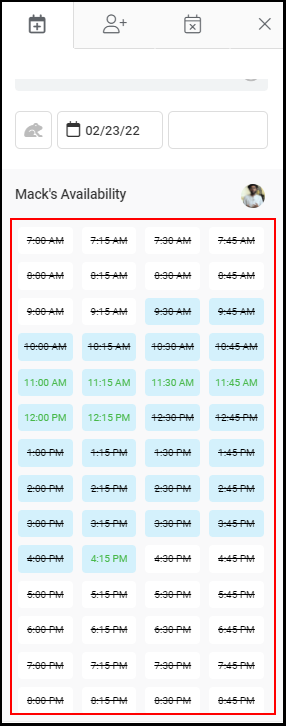
9b. Understanding appointment time variations:
Grey Crossed-Out Appointments Times indicate the provider is not scheduled at that time.

Blue Appointments Times indicate the provider is scheduled at that time.

Blue Crossed-Out Appointment Times indicate the provider is scheduled, but unavailable at that time.

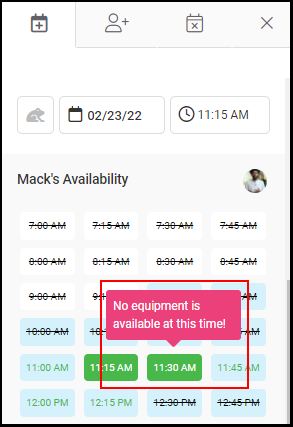
9c. Hover over appointment times to check if the required equipment is available.
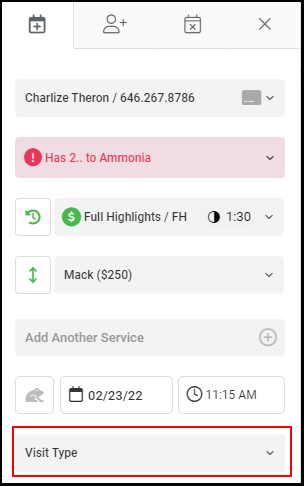
10. Select the "Visit Type" if applicable from the drop-down.
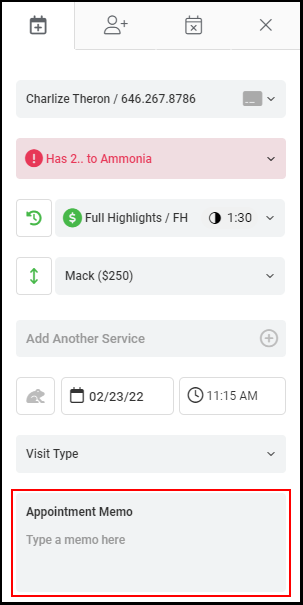
11. Add an "Appointment Memo" if needed.
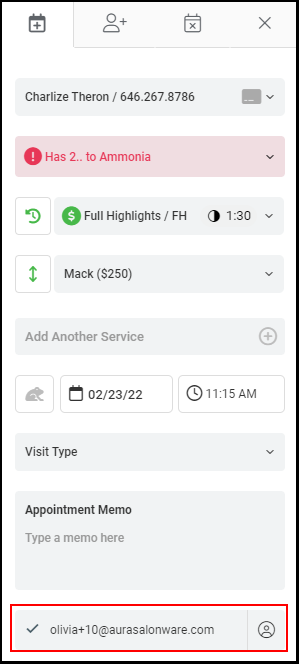
12. If the client wishes to receive an email with their appointment details, add their email address and select the check box.
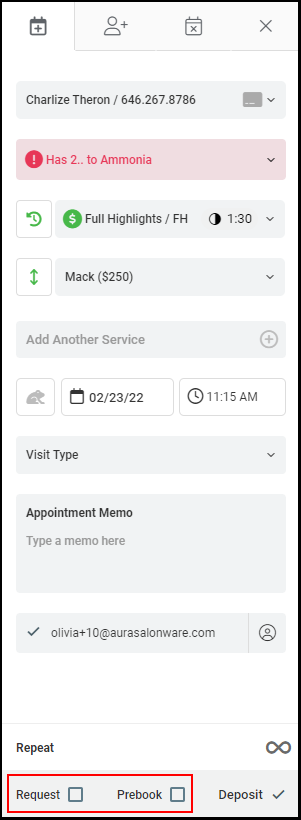
13. Denote if the appointment is a Request or Prebook by checking the appropriate boxes.
NOTE: If the chosen service requires a deposit, the deposit box will automatically be checked.
14. Select "Proceed to Collect Deposit & Fees" once all the appointment details are complete.
NOTE: If the chosen service does not require a deposit but your salon collects service fees at the time of booking, the box will display "Proceed to Collect Fees".
NOTE: If the chosen service does not require a deposit and your salon does NOT collect service fees at the time of booking, the box will display "Book It". Your booking is now complete and on your schedule!
15a. Any deposits required at booking will be shown, including deposits and service fees required at booking.
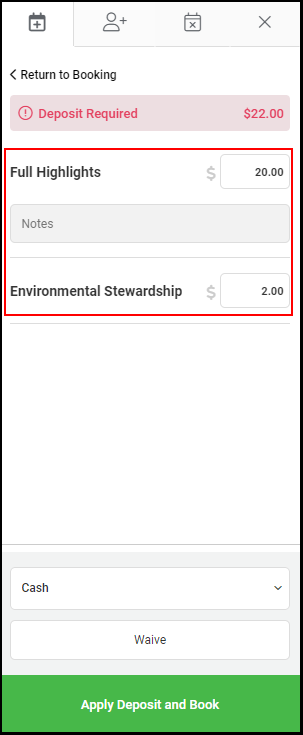
15b. Select how the client will be paying for the deposits or service fees.
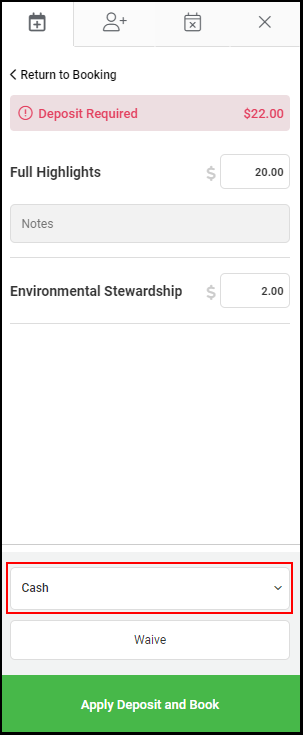
16. Select "Apply Deposit and Book". The appointment will now be booked.