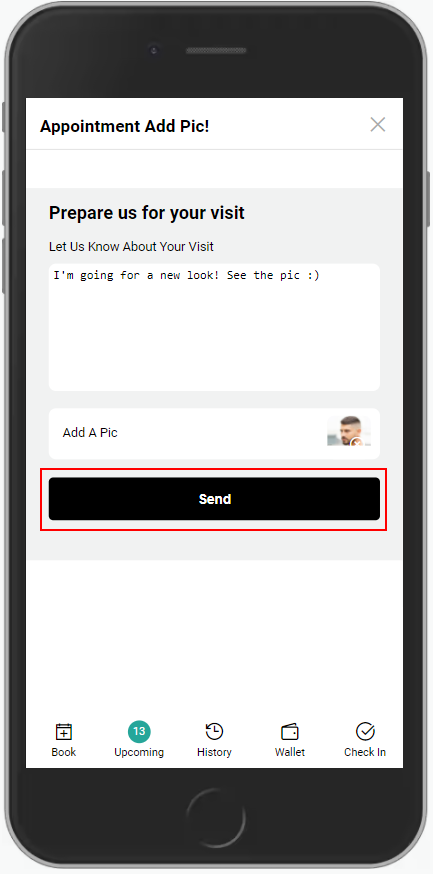
Clients can upload a picture along with a message while booking an appointment through the guest application.
Adding a pre-consultation photo while booking an appointment
1. Book an appointment on the client app using the steps in this article HERE.
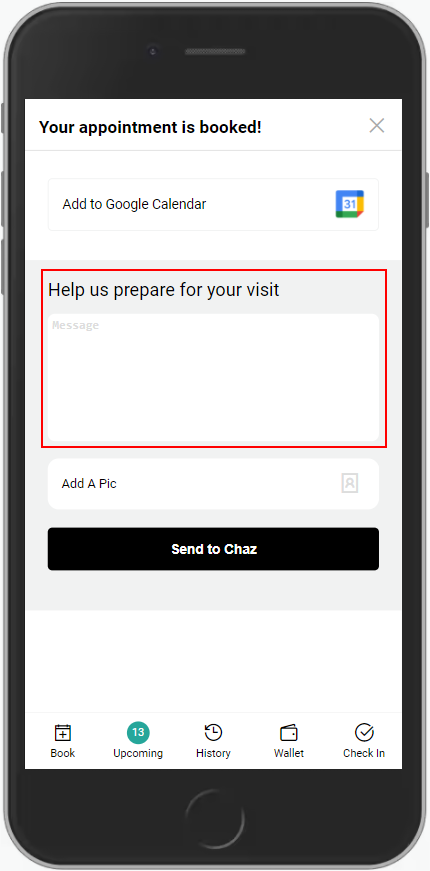
2. Within the "Help us prepare for your visit" section type in any notes that will be useful for the booked appointment.
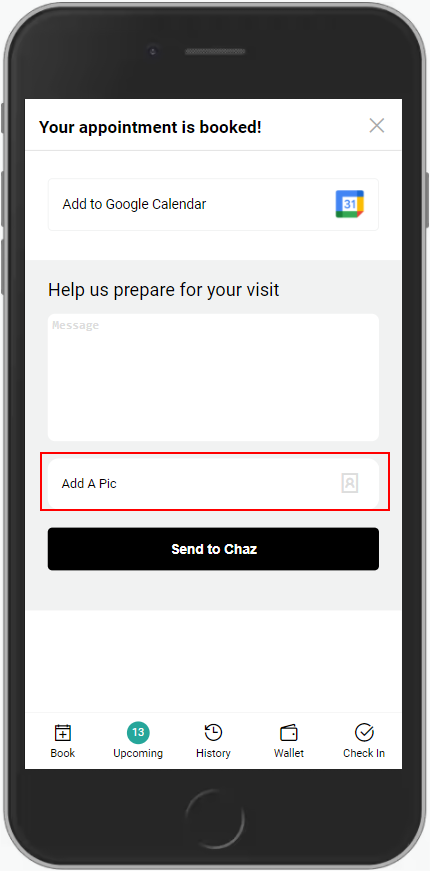
3. Select the picture icon to upload a photo.
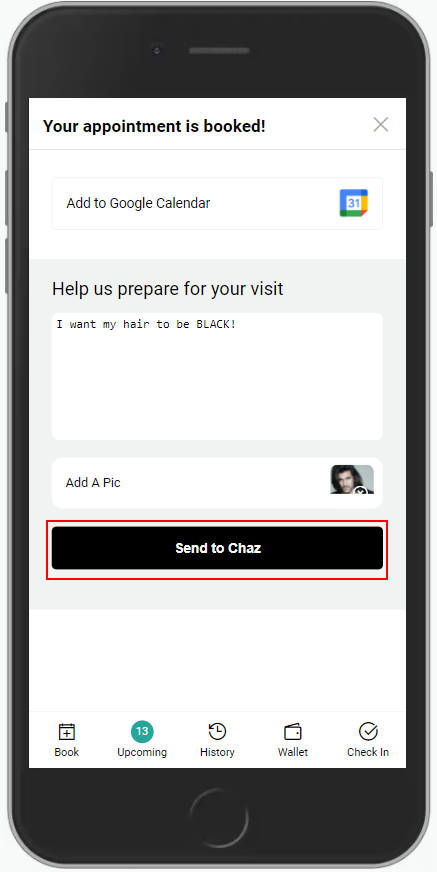
4. Select the "Send to" button.
6. A confirmation page will appear confirming that your photo was sent.
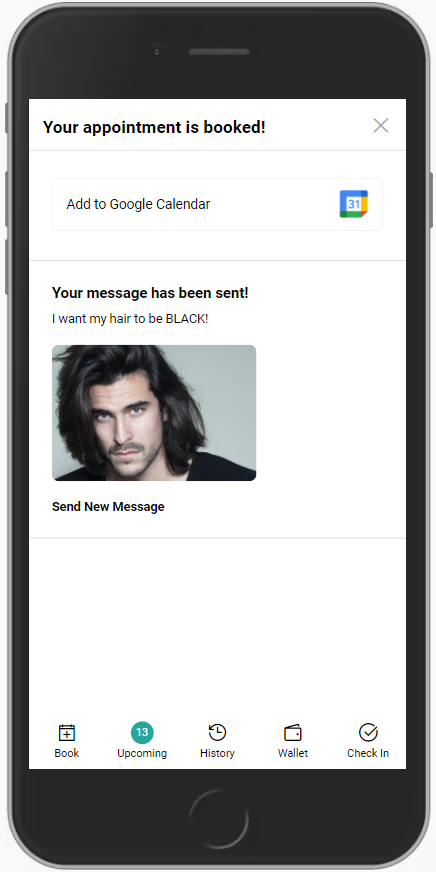
Adding a photo after booking an appointment
1. Within the "Upcoming" section, select the three dots on the right side of the booked appointment.
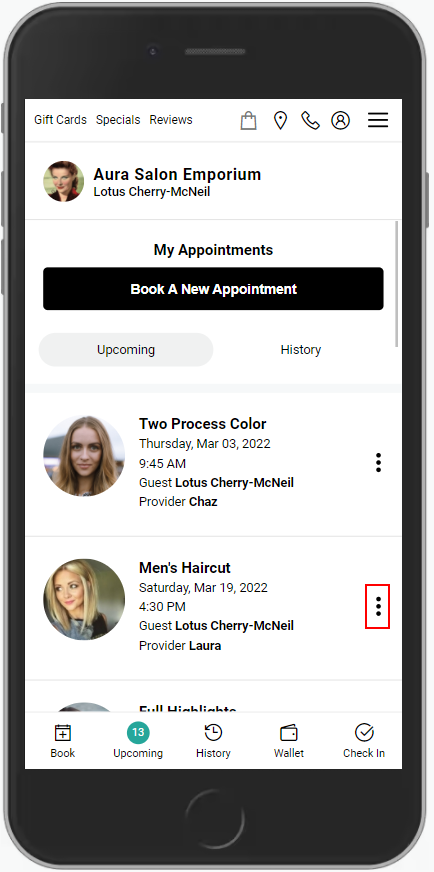
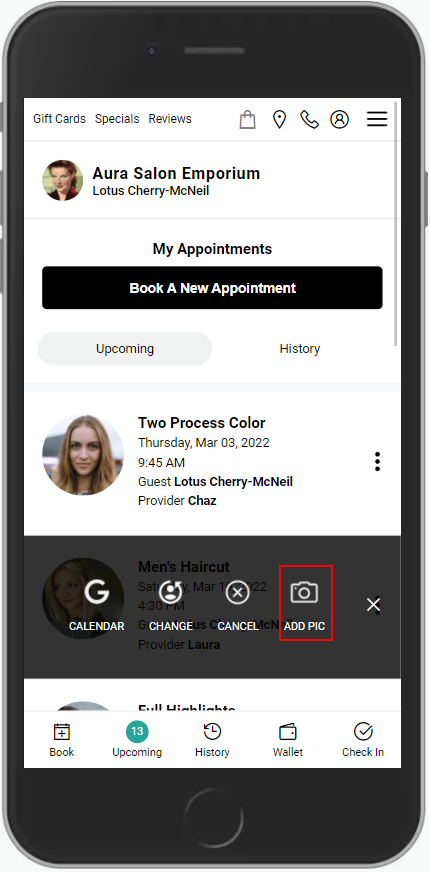
2. Select "Add Pic".
3. Type in any comment or notes that will be useful for the booked appointment.
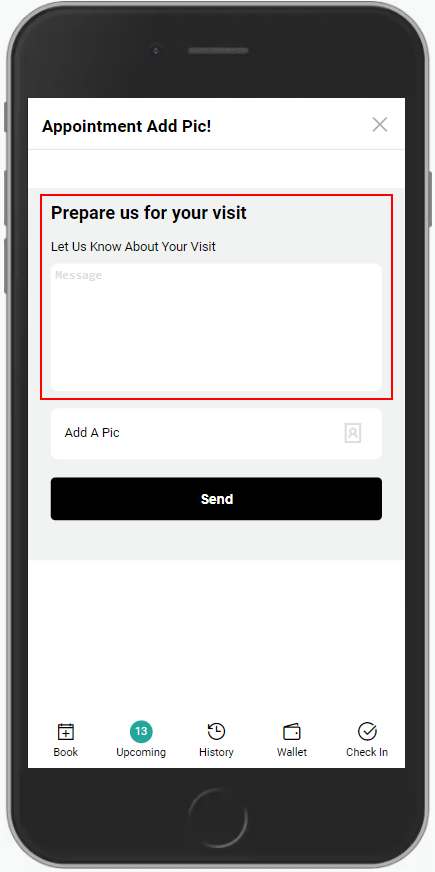
4. Upload a photo for the booked appointment.
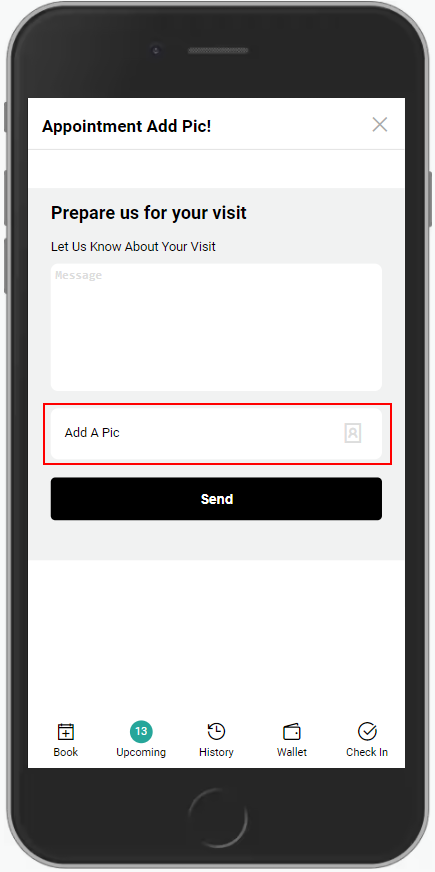
5. Click "Send".